Creating a campaign on Outbounders.com is as easy as hitting the green “Add Campaign” button on the Manage Tab and filling out information on the campaign that you want to create.
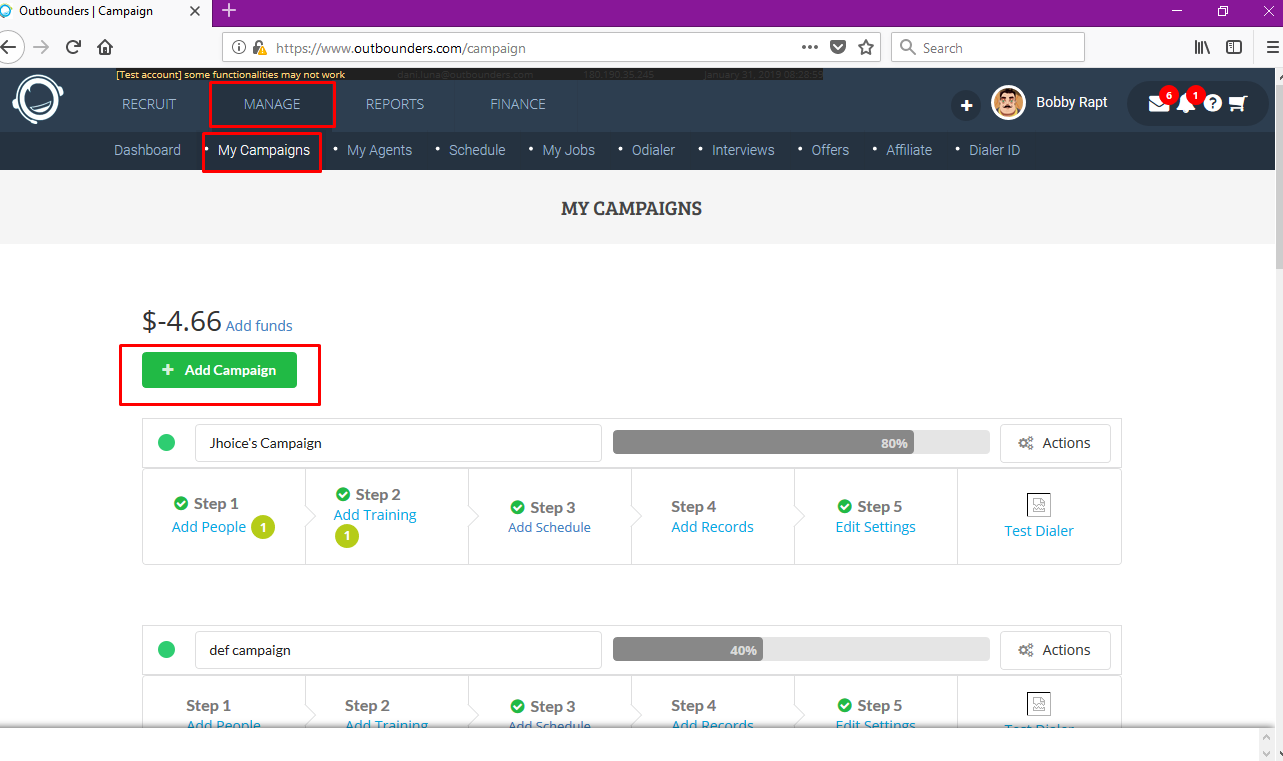
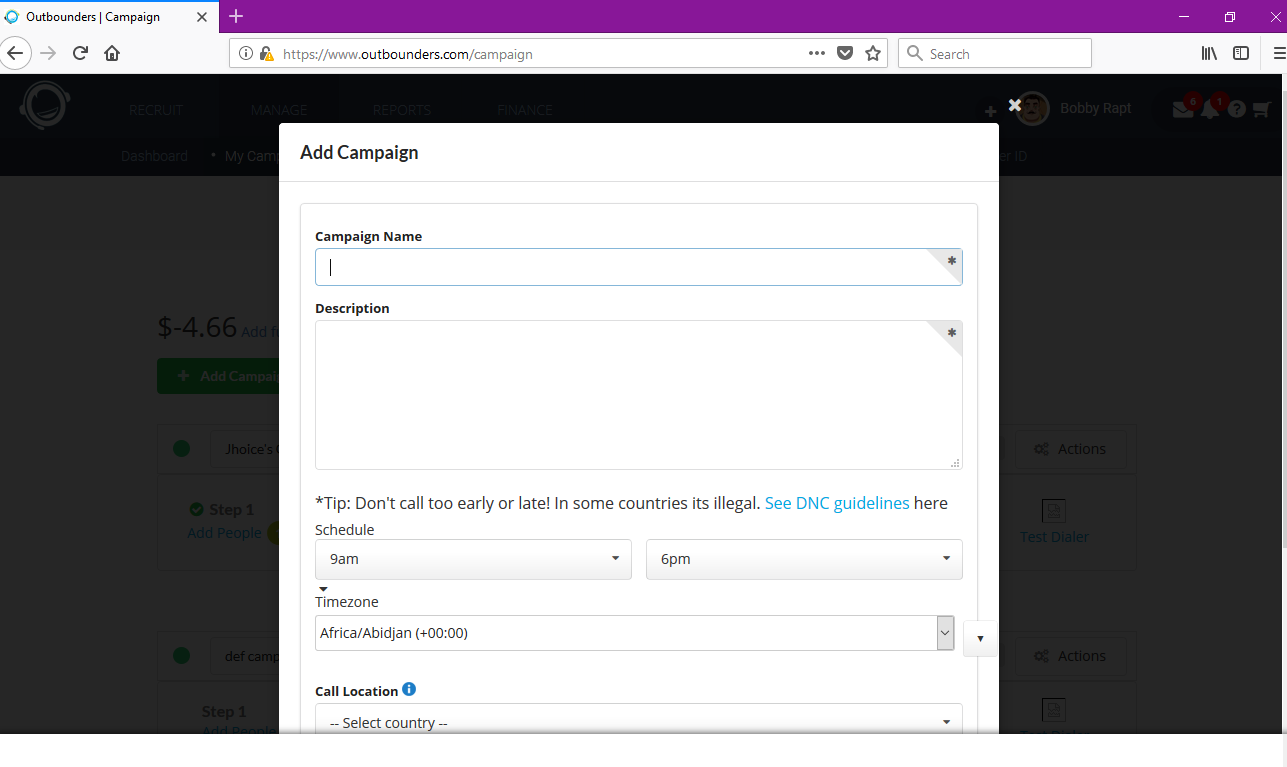
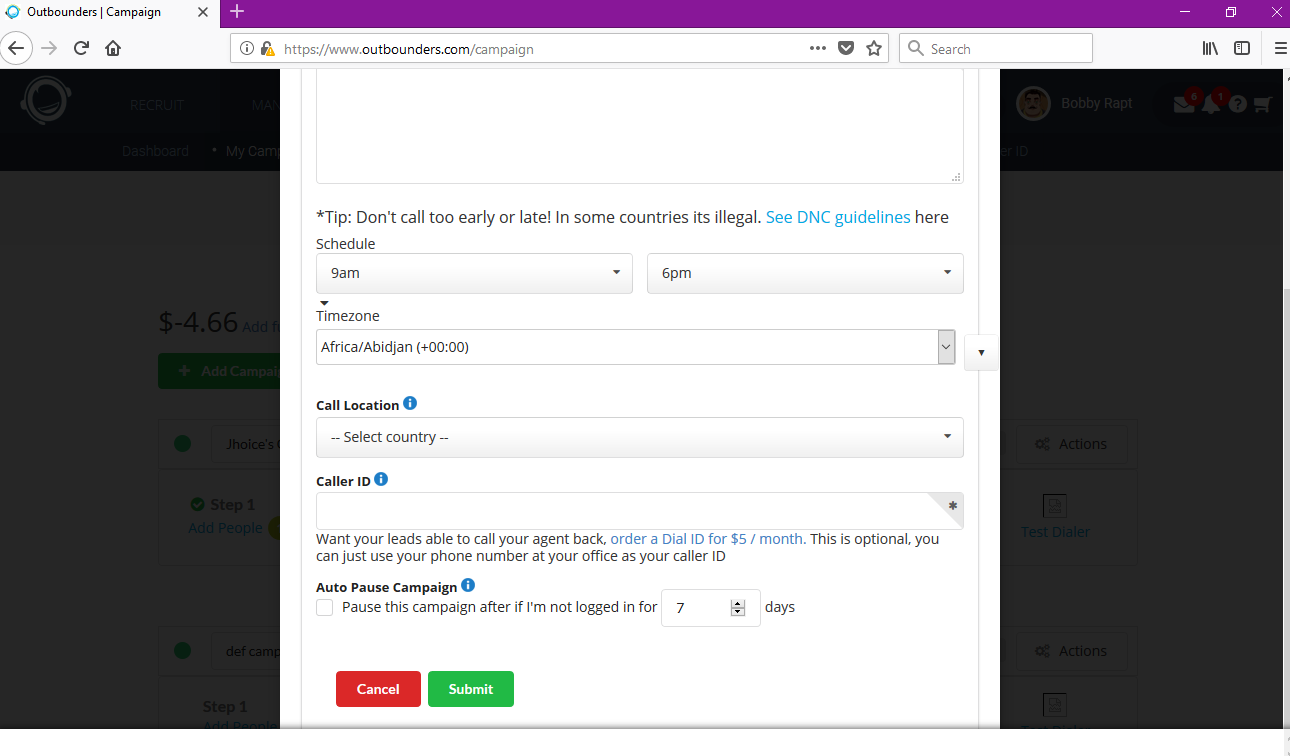
The information to be filled is Campaign Name, Campaign Description, The time frame in which your agent will be working, and the location of where the calls are going out to.
Once you’ve filled the information and have successfully created your Campaign, you will be directed with steps to setting up you Campaign such as: Adding People, Training and Records.
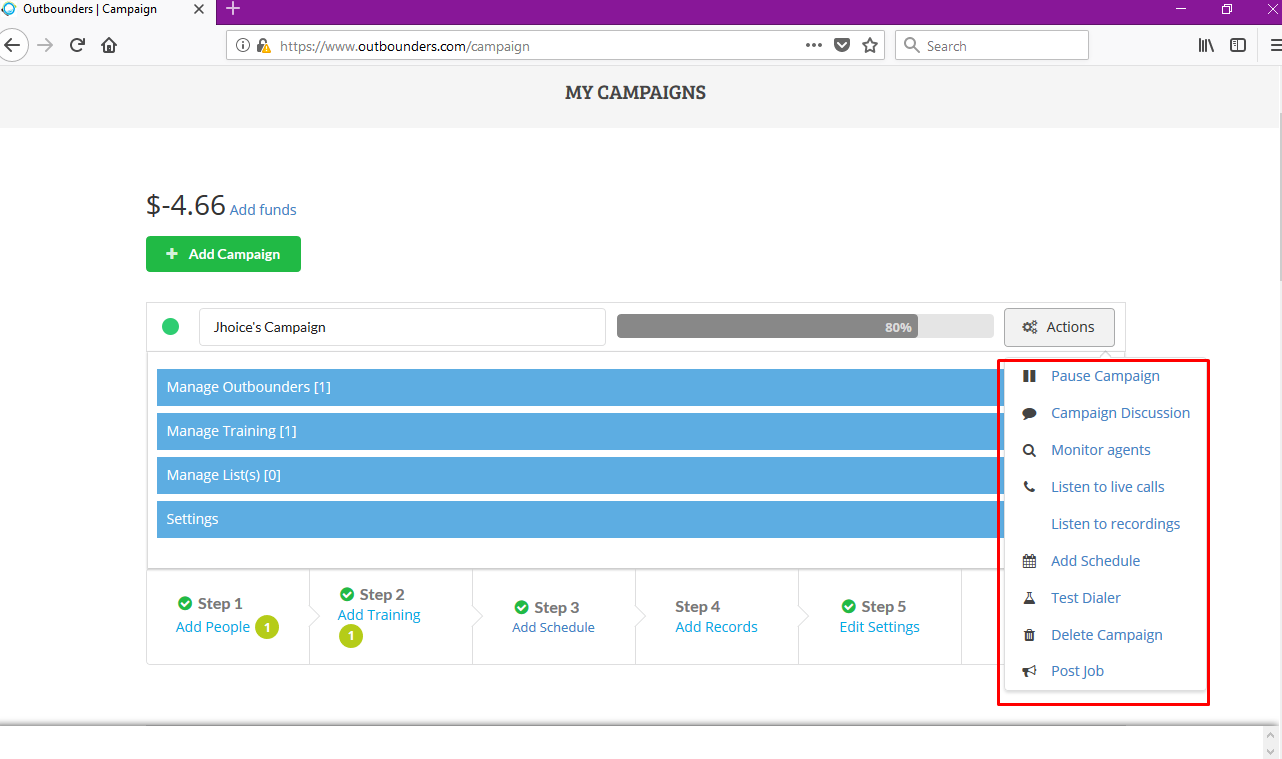
If you ever need to make changes to your campaign, hit the dropdown on your campaign bar and go to settings.
So in order to assign an agent to a campaign, click the “Assign to campaign” button next to agents name.

You will then see a pop up where you choose which of your campaigns you want to assign the agent.

Clicking the campaign bar with drop down 4 blue bars. You will be able to see your agent now in the “Manage Outbounders” section of your campaign

